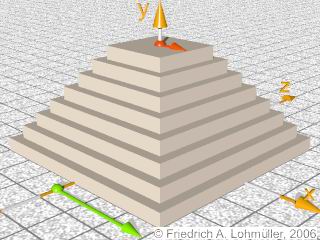
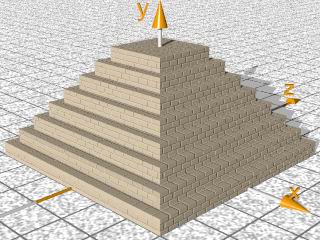
From this valuse we calculate the height and deepth of the steps:
#local D = 0.00001;
#local Step___Height = Total___Height/Number_of___Steps;
#local Step___Width  = (Base___Width-Top___Width)/(Number_of___Steps-1);
//--------------------------------------------------------------
Zusammenbau mittel While-Schleife:
union{
 #local Nr = 0;     // start
 #local EndNr = Number_of___Steps; // end
 #while (Nr< EndNr)
   #local P___Width = Base___Width-Step___Width*Nr;
   #local P___Height = Step___Height;

   box{ <-P___Width, 0.00, -P___Width>,< P___Width, P___Height, P___Width>

        translate<0,Total___Height-(EndNr-Nr)*Step___Height,0>

        texture{ pigment{ color rgb <1.00, 0.87, 0.73>} // ~ LightWood
                 finish { diffuse 0.9 phong 1 reflection 0.00}
               } // end of texture

       } // end of box

 #local Nr = Nr + 1;  // next Nr
 #end // --------------- end of loop
rotate<0,0,0>
translate<0,0,0>} // end of union
//-----------------------------------------------------------------------------
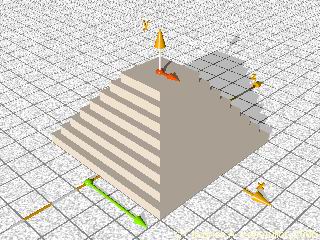
In the shadows without structure.
|
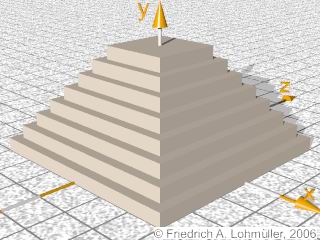
with 2 different textures.
Scene file for POV-Ray:
".txt" file or
".pov" file
|
Textures in the Shadows:
If we build a pyramis by single boxes with a continuous texture,
in shadow parts with only ambient light the objects appear without any structure.
To avoid this we can make each step out of two different boxes with slightly different textures:
   union{ // inner union
     //---------------------------------------------------------- visible in x and z
     box{<-P___Width, 0.00+D, -P___Width>,< P___Width, P___Height-D, P___Width>
         texture{ pigment{ color rgb <1.00, 0.87, 0.73>} // LightWood}// rgb<1,1,1>}
                  finish { diffuse 0.8  phong 1 reflection 0.00}
                } // end of texture
        } // end of box
     //----------------------------------------------------------------- visible in y
     box{<-P___Width+D, 0.00, -P___Width+D>,< P___Width-D, P___Height, P___Width-D>
         texture{ pigment{ color rgb <1.00, 0.87, 0.73>} // ~ LightWood light
                  finish { diffuse 0.9 phong 1 reflection 0.00}
                } // end of texture
        } // end of box
     //------------------------------------------------------------------------------

     translate<0,Total___Height-(EndNr-Nr)*Step___Height,0>
   } // end of inner union
Ready-made POV-Ray objects as
include files and example files you'll find
at the POV-Ray Objects Page
|
