Descriptions and Examples for the POV-Ray Raytracer by Friedrich A. Lohmüller
Design of Surfaces by "texture" with POV-Ray -
Deutsch Deutsch
Italiano Italiano
Français français

Home
- POV-Ray Tutorial

  Design of Surfaces
  - Colors and Textures
    Index

    texture Syntax
    Ready-made Textures
    Do-it-yourself Colors
    Patterns
    Patterns Lists
    Warps
    uv_mapping
    Mapping
    - Mapping Methods
    - color_map{ ... }
    - pigment_map{ ... }
    - texture_map{ ... }
    - normal_map{ ... }
    - average
    - material_map{ ... }
    - image_map{...}
   > image_map+gif
    - image_map+gif 2
    - image_map+gamma
    - bump_map{ ... }
    - transparency maps 1
    - transparency maps 2
    - transparency maps 3
    Superpositions

    Your own Textures
 
                                           
"image_map{ ... }" I   - with Transparent Gif Images

Example:


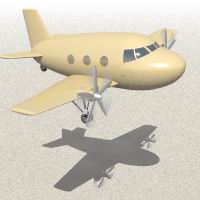
gif image
palette image (gif,png)
with transparent background
  +  
gif image
object{ Plane }

A layered texture:
#declare APlane_Outside_Texture  =
   texture{
    pigment{color rgb<1,0.80,0.4>} //
    finish { phong 1 reflection 0.1}
    }
   texture{
    pigment{
     // projects an image on the xy plane
     // from <0,0,0> to <1,1,0>
     // (aspect ratio 1:1)
     image_map{ png "plasma3.png"
     // imagetype "file name" - Path + .tga etc.
     // accepted types of images:
     // gif, tga, iff, ppm, pgm, png, jpeg, tiff, sys
     map_type 0 // 0=planar, 1=spherical, 2=cylindrical, 5=torus
     interpolate 2
      // 0=none, 1=linear, 2=bilinear, 4=normalized distance
     once //
  // for transpartent image parts use palette graphics (256 colors or less)
  // gif version 87a, non interlaced, or png palette non interlaced
  // filter Palette, Amount |
  // filter all Amount |
     transmit 215, 1 // Palette, Amount |
  // transmit all Amount
    } // end of image_map
  } // end of pigment

  finish { diffuse 0.9 phong 1}// end of finish
  scale <6,1.5,1> rotate<0,0,6> translate<-5.8,0.00,0>
  } // end of texture  ------------------


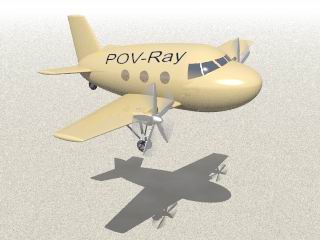
The Result:


gif image
object{ Plane } + image

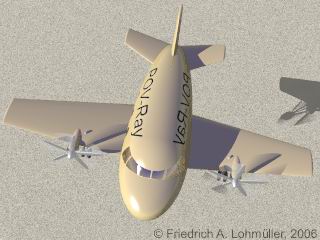
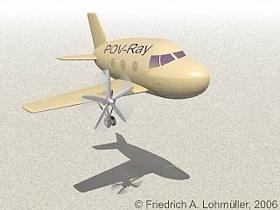
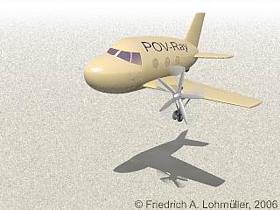
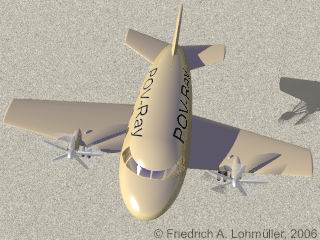
But there's still a little problem left: the writing on the backside is mirrored!!!
 
gif image
wrong backside!
To solve this problem we should (already during construction phase!) divide all those bodies, which we want to have writings on left and right side, and split them off in two parts with their own textures:
A right side with a right-side-texture and a left side with the according left-side-texture:
gif image
left side
with left-side-texture
  +  
gif image
right side
with right-side-texture

If we put the things together in this way, every thing looks right! (also if it's on the left:-)
 
gif image
right on both sides!
top

© Friedrich A. Lohmüller, 2010
www.f-lohmueller.de