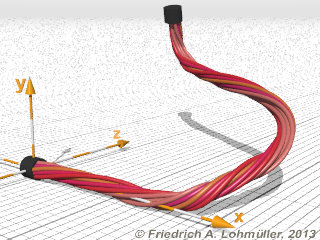
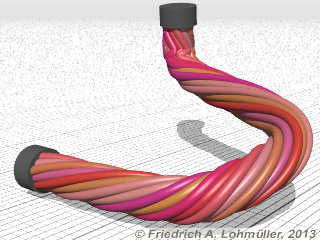
|
How to Make a Cable Harness:
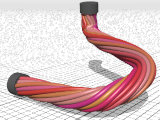
Here a solution for a twisted cable harness
based on an idea by Jim Dunlop.
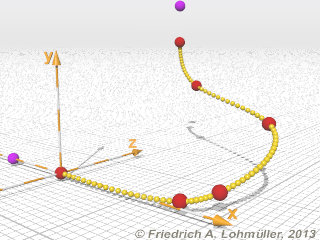
Step 1: A spline curve for the harness.
We create a spline for the way of the harness.
For testing we let this way draw by a relatively low number of spheres.
Important:
Points should be placed nearly equidistant!
We have to avoid vertical parts in the spline!
Avoid overlapping and too sharp curves!.
#declare Wire_R = 0.4;// radius
// spline:
#declare Test_Spline =
spline { natural_spline
   -0.25, <-1.0, 0.0, 0>,
    0.00, <-0.0, 0.0, 0>, //start
    0.25, < 1.7, 0.05, 0.05>,
    0.35, < 2.0, 0.15, 0.25>,
    0.60, < 2.0, 0.65, 1.2>,
    0.80, < 0.5, 0.90, 2.0>,
    1.00, < 0.2, 1.50, 2>, // end
    1.25, < 0.2, 2.00, 2>
  } //-------------------------------
Step 2: Declaring the cross-section
of the cable harness.
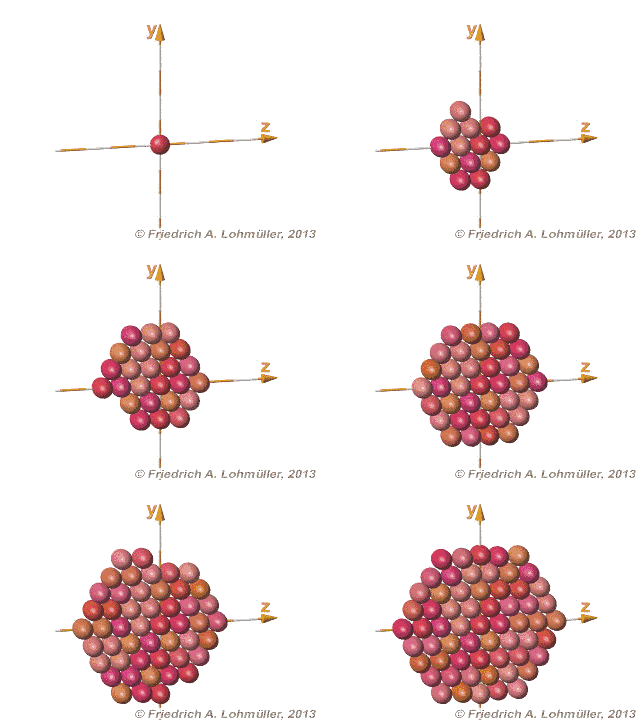
The wire strands are arranged around the central wire in a harness silhouette
as shown in the image here.
The tricky algorithm, created by Jim, works well for up to 61 wire strands.
It's too voluminous to show here in all details. For more see the according scene file.
Step 3: Using the Spline_Trans macro
A macro by Rune S. Johansen
(This macro normally is used to put airplanes on their
course. Example see Animations with Spline Curves.)
Instead of the single spheres used in Step_1
we use the object{ HarnessSilhouette ..}
and put it on the spline curve using the
Spline_Trans macro.
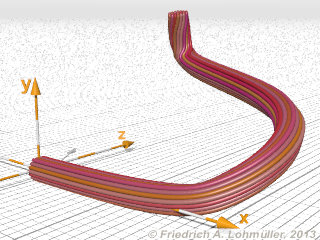
We also increase the density of
the single elements to get continuouse cables.
With the first macro we can make a pure harness segment, twisted or not, along a spline curve (or parts of the curve):
object{ HarnessSegment(
        19,// # of wires in bundle, max.61
        0.020,// >0. Radius of wire
        800, // # of samples in spline
        0,   // # of 360 degress turns
        Test_Spline, // spline name,
        <0.7,0,0>,// base color
        0.25, // color variation,
        0, // Start point on spline
        1, // End point on spline
        ) //----------
      } //-----------------------------
With the second macro we can also add some objects at the start and end of the harness:
object{ CableHarness(
        12,// # of wires in bundle, max.61
        0.020,// >0. Radius of wire
        800, // # of samples in spline
        3.5, // # of 360 degress turns
        Test_Spline, // spline name,
        <0.7,0,0>,// base color
        0.25, // color variation,
        0, // Start point on spline
        1, // End point on spline
        BeginObject,// to put on beginning
        EndObject,  // to put on end
        ) //----------
      } //-----------------------------
|
A spline curve for the cable harness.
red = spline points, violet = control points
The bundling of the cables.
|
