|
Motivi con pigment_pattern (2)
|
|
Esempio 3: 'pigment_pattern' applied in 'normal'
Nota: Per l'uso di questi motivi in 'normal'
possiamo usare un valore addizionale per Bump_Size !
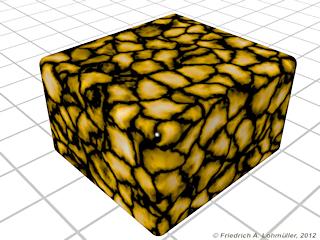
Il 'pigment' senza 'normal':
#declare Pigment_1 =   //------------------
pigment{ crackle
         turbulence 0.35 scale 0.45
         color_map{
          [0.00 color rgb<1,1,1>*0]
          [0.08 color rgb<1,1,1>*0]
          [0.40 color rgb<1,0.55,0>]
          [1.00 color rgb<1,1,0.8>]
         } // end of color_map
} // end of pigment -----------------------
object{ //---------------------------------
  Round_Box(<-1,0,-1.25>,<2,2,2>,0.15,0)
  texture{ pigment{ Pigment_1  }
           finish { phong 1 }
         } // end texture
} // -------------------------------------- |
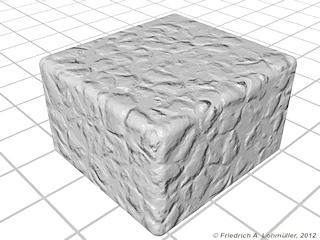
Il 'pigment' usato come 'pigment_pattern' per 'normal':
object{ //---------------------------------
  Round_Box(<-1,0,-1.25>,<2,2,2>,0.15,0)
  texture{ pigment{ color rgb<1,1,1>*0.8 }
           normal {
             pigment_pattern{
               Pigment_1
             } // pigment_pattern
             0.5 // BUMP_SIZE
           } // end of normal
           finish { phong 1 }
         }
} // -------------------------------------- |
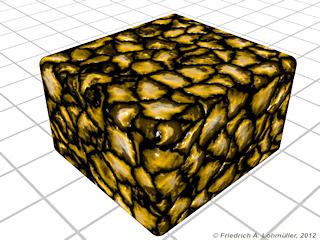
'pigment' usato come 'pigment' e come 'pigment_pattern':
object{ //---------------------------------
  Round_Box(<-1,0,-1.25>,<2,2,2>,0.15,0)
  texture{ pigment{ Pigment_1 }
           normal {
             pigment_pattern{
               Pigment_1
             } // pigment_pattern
             1.5 // BUMP_SIZE
           } // end of normal
           finish { phong 1 }
         }
} // --------------------------------------
|
Un altre esempio vede ici :
'pigment_pattern' e 'normal'.
|
Cliccare sui immagini per resoluzioni più alte ( Javascript on! )
Il motivo 'crackle' usato come pigment.
POV-Ray scene file: pattern_crackle_normal_0.pov
Pigmento con 'crackle' usato come motivo normal.
POV-Ray scene file: pattern_crackle_normal_1.pov
Il pigment_pattern come pigment e normal.
POV-Ray scene file: pattern_crackle_normal_2.pov
|
|
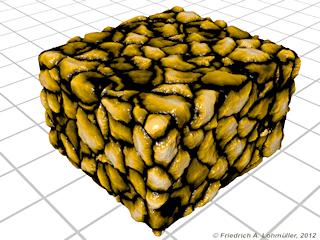
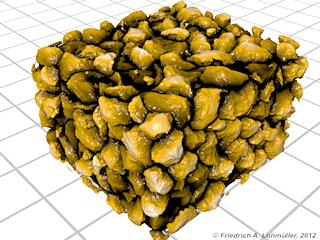
Più '3D': Usare una funzione pigmento con isosurface
#declare fn_Pigment_1 =
function {pigment{ Pigment_1} }

isosurface { //----------------------------
  function{
    f_rounded_box(
        x,y,z,
        0.15, // radius of curvature
        1.5, 1.0, 1.625  // scale<x,y,z>
                 ) //
     - fn_Pigment_1(x,y,z).gray*0.1
  } // end function
  threshold 0
  contained_by {box {<-2,-2,-3>,<2,2,3.5>}}
  max_gradient 6
  accuracy 0.0001
  texture{
     pigment{ Pigment_1 }
     normal { crackle 0.5 scale 0.045}
     finish { phong 1}
   } // end texture
  translate <0.5, 1.1, 0.375>
} // end of isosurface -------------------- |
|
La funzione pigmento con isosurface
POV-Ray scene file: pattern_crackle_isosurface_3.pov
Una variazione: 'fn_Pigment_1(x,y,z).gray*0.25'
|
|
