"image_map{ ... }"
- mit transparenten Gifs
Beispiel :
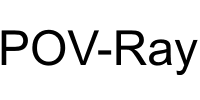
Bild mit Farbpalette (gif)
mit 256 Farben
mit transparentem Hintergrund.
Hintergrund = Farbindex 215
|
+
|
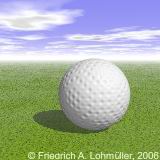
object{ Golf_Ball }
|
=
|
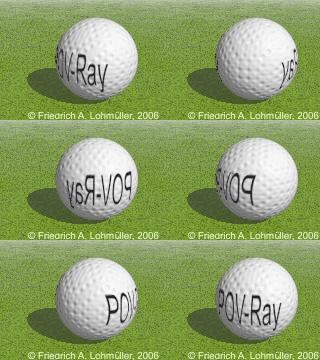
object{ POV_Ball } ???
|
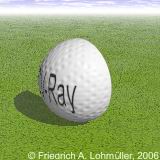
Eine Kugel mit übereinander gelagerten Texturen:
sphere{ <0,0,0>, 0.5
        texture{ pigment{ color rgb<1, 1,1>}
                 normal{ leopard -5 scale 0.015}
                 finish { diffuse 0.9 phong 0.1}
               } // end of texture 1

        texture{ pigment{
                 image_map{ gif "POV-Ray_215.gif"
                            map_type 0
                            once
                            transmit 215, 1
                          }
                 translate<-0.5,-0.5,0>
                 scale<0.75,1,1>*0.85
                 } // end pigment
                 normal{ leopard -5 scale 0.015}
               } // end of texture 2
} // end of sphere ------------------ |
|
|
Lohmi...!
We have ...
... an image_map problem !
|
Eine mögliche Lösung des Problems:
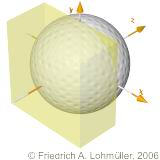
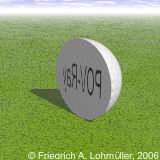
Hierzu muss man das Objekt in eine Vorderseite und eine Rückseite zerlegen:
//------------------------
#declare Hemisphere =
intersection {
 sphere { <0,0,0>, 1}
 box{ <-1,-1,-1>,<1,1,0>}
} // end of intersection
//------------------------
|
|
|
|
|
|
|
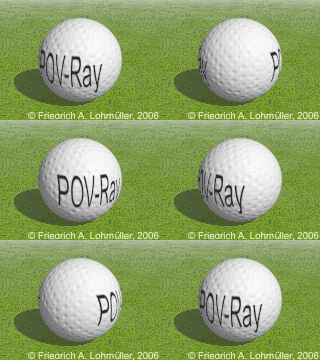
Nun texturieren wir die Vorder- und Rückseite jeweils getrennt:
union{
object{ Hemisphere scale 0.5  // frontside
        texture{ pigment{ color rgb<1, 1,1>}
                 normal{ leopard -5 scale 0.015}
                 finish { diffuse 0.9 phong 0.1}
               } // end of texture 1
        texture{ pigment{
                 image_map{ gif "POV-Ray_215.gif"
                            map_type 0
                            once
                            transmit 215, 1
                          }
                 translate<-0.5,-0.5,0>
                 scale<0.75,1,1>*0.95
                 } // end pigment
                 normal{ leopard -5 scale 0.015}
               } // end of texture 2
         rotate<0,0,0>
      } // end of Hemisphere -------------------------
object{ Hemisphere scale 0.5  // backside
        texture{ pigment{ color rgb<1, 1,1>}
                 normal{ leopard -5 scale 0.015}
                 finish { diffuse 0.9 phong 0.1}
               } // end of texture 1
        texture{ pigment{
                 image_map{ gif "POV-Ray_215.gif"
                            map_type 0
                            once
                            transmit 215, 1
                          }
                 translate<-0.5,-0.5,0>
                 scale<0.75,1,1>*0.95
                 } // end pigment
                 normal{ leopard -5 scale 0.015}
               } // end of texture 2
         rotate<0,180,0>
      } // end of Hemisphere -------------------------
//scale 0.04 // optional downsized to 4 centimeters
translate <0,0.5,0>
rotate <0,60,0>
} // end of union "Golf_Ball" --------------
|
|
|
Frontside
Backside
golf ball
|
|
